
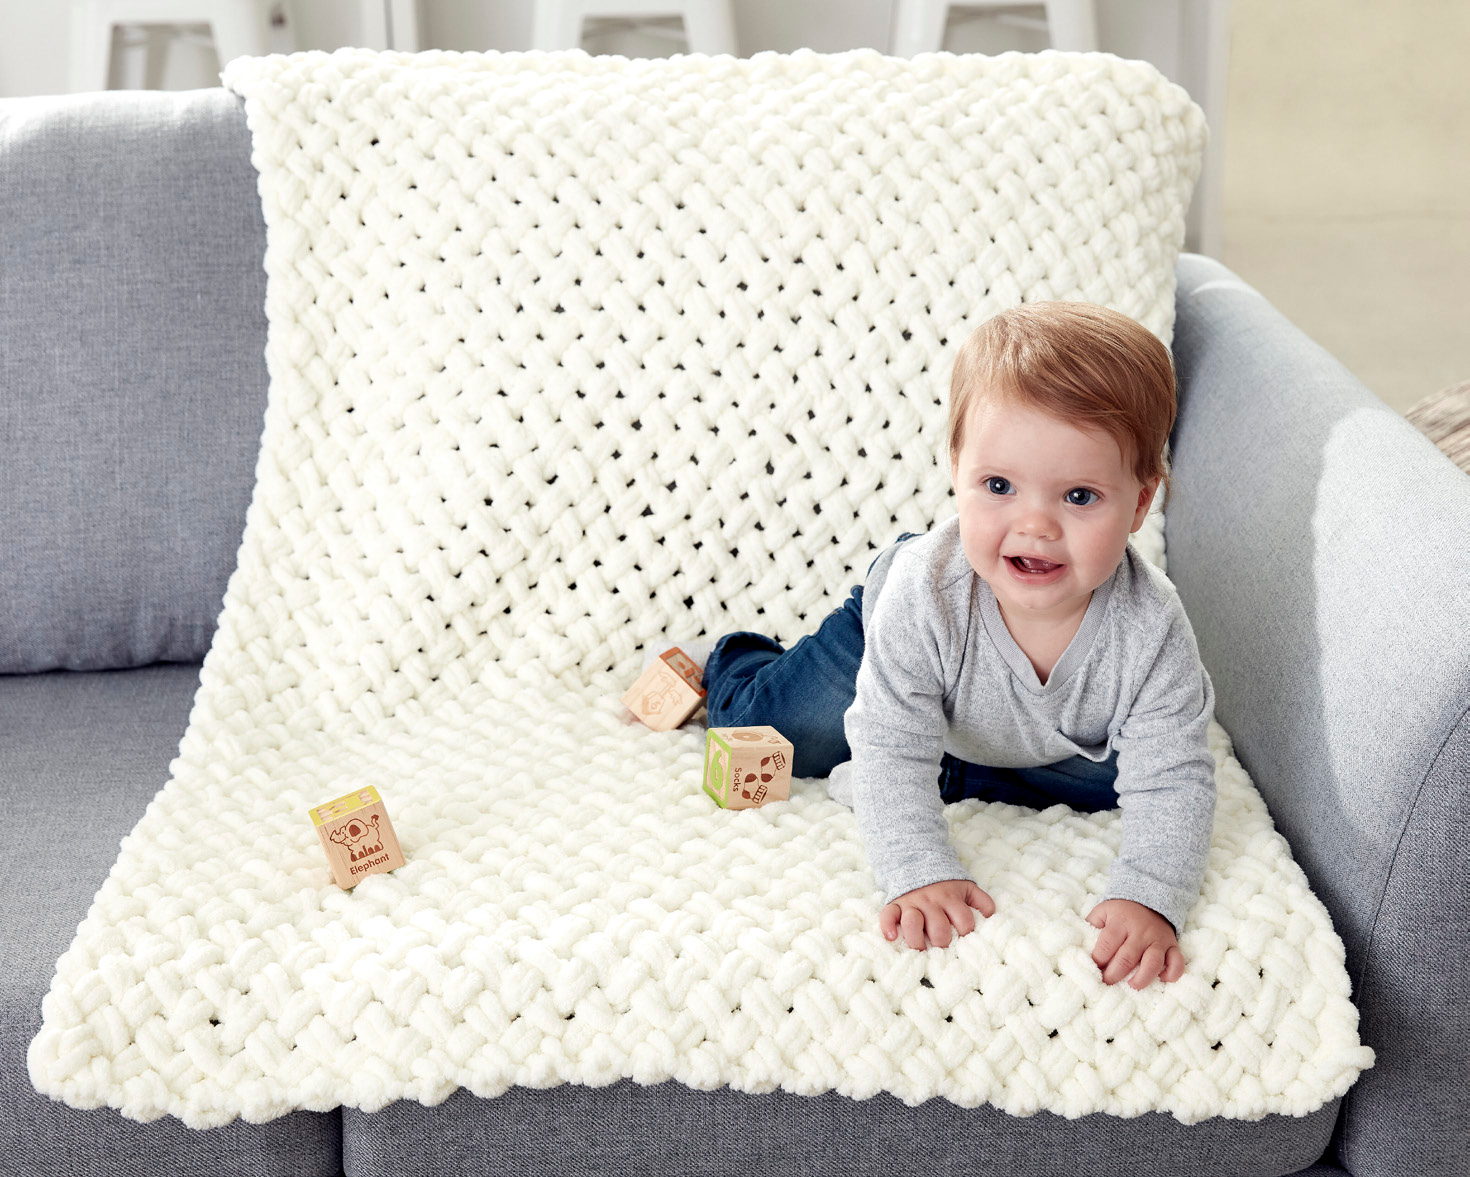
Looking for a super plush, quick, and cozy project for a new baby? This EZ Criss-Cross Baby Blanket pattern creates a gorgeous textured woven design using soft pre-looped chenille yarn. It requires NO crochet hooks—just your hands and loop-crossing techniques to complete a luxurious 32″ x 40″ blanket in record time!
| Finished Dimensions | ~32″ x 40″ (81.5 cm x 101.5 cm) |
| Skill Level | Easy / Beginner Friendly |
| Technique | Loop-Yarn Criss-Cross Weaving (No Hook Required) |
| Yarn Required | Bernat Alize Blanket-EZ (4 balls in Cream) |
- Pre-Looped Chenille Yarn: 4 balls of Bernat Alize Blanket-EZ yarn (6.4 oz / 180g; 18 yds / 16m per ball) in Cream (Color #37013).
- Tools: Tapestry yarn needle (for weaving in final tail) and sharp scissors.
- No Hook Needed: This pattern is worked using your hands to pull loops through pre-made yarn loops!
| Key Rule | Instruction |
|---|---|
| Work Direction | Right side of work is facing forward at all times. Do not turn the blanket. |
| Yarn Position | Hold the working yarn behind the stitches throughout the project. |
| Pull Direction | Loops from working yarn are always pulled through loops from back to front. |
Count out 50 loops from the end of your yarn ball on a flat surface. Ensure all loops are facing upwards and the yarn tail is at the far left. (This forms your 50-stitch foundation width).
- Working from right to left, cross the 50th loop in front of the 49th loop.
- Pull the next loop from working yarn up from behind through the 49th loop.
- Pull the next loop from working yarn up from behind through the 50th loop.
- Repeat: *Cross the next loop of the foundation row in front of the adjacent loop. Holding crossed loops in position, pull working loops up through each from behind*. Repeat across to the end of the row. Do not turn work. (50 stitches total).
- Working from left to right, skip the first stitch of the row just worked.
- Cross the 2nd stitch in front of the 3rd stitch. Holding crossed stitches in position, pull next loop from working yarn up from behind through 3rd stitch, then pull next loop up through 2nd stitch.
- Repeat: *Cross next 2 stitches. Pull working loops up through each from behind*. Repeat across to last stitch. Leave last stitch unworked. Do not turn work.
- Working from right to left, cross the unworked stitch in front of the 2nd stitch. Pull working loops up through each from behind.
- Continue crossing next 2 stitches across the entire row. Do not turn work.
- Repeat Rows 2 & 3 until blanket measures approximately 40″ (101.5 cm) in length, ending on a 2nd row!
- Working in the same direction as your last row, pull the 2nd stitch through the 1st stitch.
- Pull the 3rd stitch through the 2nd stitch. Pull the 4th stitch through the 3rd stitch.
- Continue binding off in this manner across the entire top edge of the blanket.
- Snip the base thread of the last loop to create a straight yarn tail, pull it through the final loop, tie securely, and weave in all yarn ends!
- Flat Work Surface: Keep the blanket laid out flat on a table while working rows to prevent skipping loops.
- Consistent Loop Pulling: Pull each loop through firmly so the criss-cross diamond pattern remains uniform and plush throughout.
- Joining New Balls: Cut the thread base of the last loop of the old ball and first loop of the new ball to create straight ends, then double-knot them together behind the blanket.
And voila! Your lush, ultra-soft EZ Criss-Cross Baby Blanket is ready. This handmade blanket makes an extraordinary baby shower gift, nursery accent, or toddler snuggle blanket!
Have you tried working with pre-looped Blanket-EZ yarn before? Share your photos and leave a comment below! Happy crafting!