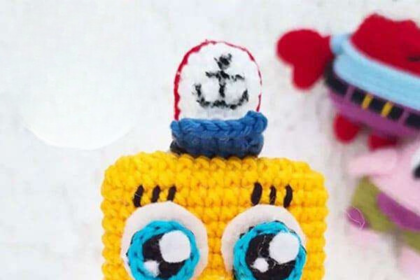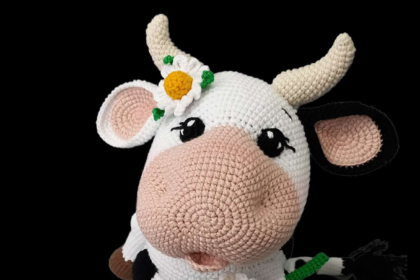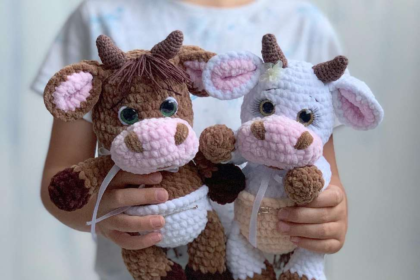

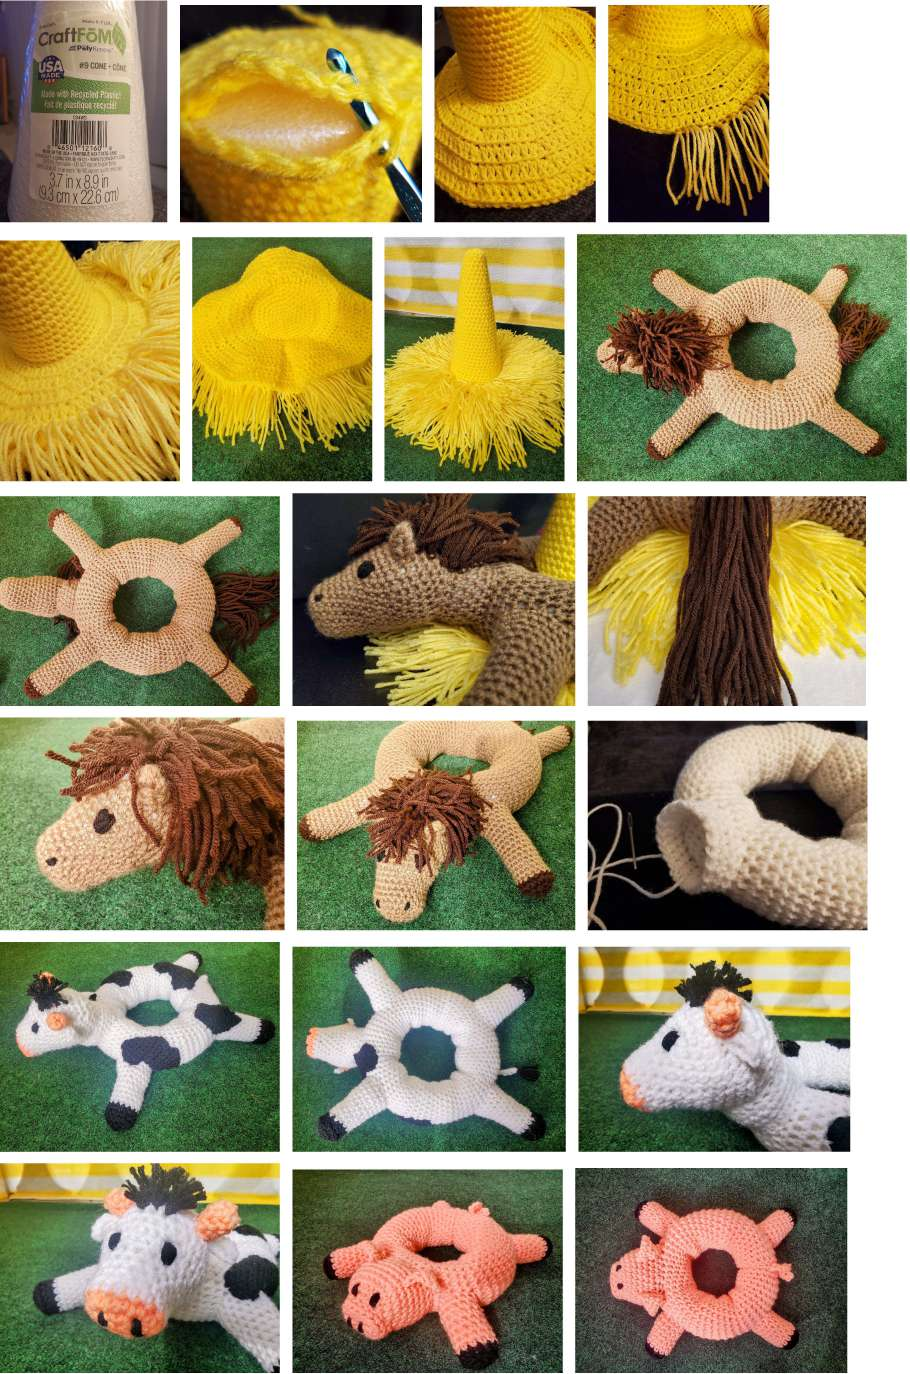
Bring the rustic charm of the barnyard to life with this complete Crochet Farm Stacking Toy set! Designed as a fun, interactive ring tower for toddlers and babies, this pattern features a central base cone covered in realistic yarn hay, topped with a colorful Rooster, and surrounded by 3 removable animal stacking rings: a Cafe Latte Horse, a Spotted Cow, and a Pink Pig!
| Finished Stack Height | ~13.5 inches tall (34 cm) |
| Difficulty Level | Confident Beginner to Intermediate |
| Terminology | US Crochet Terms |
| Ring Dimensions | Horse: 10″ dia. | Cow: 8.5″ dia. | Pig: 7.5″ dia. | Rooster: 6″ tall |
- Worsted Weight Acrylic Yarn (Red Heart SuperSaver & Caron):
- Bright Yellow (10 oz) – Cone base, hay strands, rooster accents
- Cafe Latte (8 oz) & Coffee (2.5 oz) – Horse body, legs, mane & tail
- White (8 oz) & Black (3 oz) – Cow body, patches, eyes & facial details
- Paddy Green (3 oz) & Royal Green (1 oz) – Rooster body & feathers
- Peach (6 oz) – Cow snout, Pig body & ears
- Cherry Red, Pumpkin, Buff (1 oz each) – Rooster comb, beak, feet & waddle
- Crochet Hook: 5.0 mm (Size H/8) hook (or size needed to obtain gauge).
- Hardware & Core: One CraftFom #9 Styrofoam Cone (3.7″ x 8.9″ / 9.3cm x 22.6cm).
- Stuffing & Notions: Polyester Fiberfill stuffing (20 oz bag), tapestry yarn needle, stitch markers, and scissors.
| Abbreviation | Stitch Meaning |
|---|---|
| ch / sl st | Chain / Slip Stitch |
| sc | Single Crochet |
| inc | Increase (2 single crochets in 1 stitch) |
| dec | Decrease (Single crochet 2 stitches together) |
| hdc / dc | Half Double Crochet / Double Crochet |
| BLO / FLO | Back Loop Only / Front Loop Only |
Use Bright Yellow yarn and 5.0mm hook. Worked in continuous rounds.
Cone Base Disc: Rnd 1: Ch 3, sl st to join. 6 sc. Rnd 2: 6 inc (12). Rnd 3: (1 sc, inc) * 6 (18). Rnd 4: (2 sc, inc) * 6 (24). Rnd 5: (3 sc, inc) * 6 (30). Rnd 6: (4 sc, inc) * 6 (36). Rnd 7: (5 sc, inc) * 6 (42). Fasten off.
Outer Cone Cover: Start with Ch 3, join. Rnd 1: 6 sc (6). Rnd 2: 12 sc. Rnd 3: (3 sc, inc) * 3 (15). Rnds 4-5: 15 sc. Work increases every 3rd round up to Rnd 30 (42 sc). Rnds 31-36: 42 sc.
Assembly & Base Flange: Slip outer cover onto Styrofoam cone. Join base disc to cover in Rnd 37 with 48 sc. Rnds 38-43: Work in BLO, increasing dc rounds up to 120 sts. Fasten off.
Hay Fringe: Cut several 6.5″ Bright Yellow yarn strands. Knot 1 strand into each front loop of Rnds 37-43 to create realistic textured hay!
- Body Ring: In Cafe Latte yarn. Ch 26, join. Rnds 1-78: 26 sc. Stuff firmly and sew Rnd 1 to Rnd 78 to form a 10″ ring.
- Neck: Ch 24, join. Rnds 1-5: 24 sc. Stuff and sew to Body Ring angling upward.
- Head: Rnd 1: 6 sc in MR. Rnd 2: 12 sc. Rnd 3: (1 sc, inc) * 6 (18). Rnd 4: (2 sc, inc) * 6 (24). Rnds 4-10: 24 sc. Increase to 36 sc (Rnd 17). Stuff as you go, then decrease down to 6 sc and close. Sew Head onto top of Neck.
- Ears (Make 2): (Ch 5, sl st in 2nd ch, sc, hdc, dc) twice. Whipstitch wrong sides together. Sew 1″ apart on Head.
- Legs (Make 4): Start with Coffee yarn (hooves). Rnds 1-3: 15 sc. Switch to Cafe Latte yarn. Rnds 4-14: 15 sc. Increase to 24 sc at Rnd 19. Stuff and sew 4 legs to underside of Body Ring.
- Mane & Tail: Attach 11″ Coffee yarn strands to back of ring for tail. Attach 8″ Coffee yarn strands between ears down the neck for mane. Embroider black eyes, nostrils, and smiley mouth.
- Body Ring: In White yarn. Ch 24, join. Rnds 1-68: 24 sc. Stuff and sew Rnd 1 to Rnd 68 to form an 8.5″ ring.
- Neck: Ch 24, join. Rnds 1-4: 24 sc. Stuff and sew to Body Ring.
- Head: Start with Peach yarn (snout). Ch 5, work 10 sc around chain, increase to 16 sc (Rnd 2). Switch to White yarn at Rnd 3. Work up to 36 sc (Rnd 11), then decrease back down to 6 sc. Stuff firmly and sew Head to Neck.
- Horns & Ears (Make 2 each): Horns in Peach yarn (6 sc, 3 rnds). Ears in White yarn (Ch 6, hdc 3, sl st). Sew horns 2″ apart on head, ears just below horns.
- Legs & Tail: 4 Legs in Black/White (18 sc, stuff, sew to body). Tail: Ch 11 with Black yarn tassels at tip.
- Black Patches (Make 5): Work irregular rows in Black yarn (Ch 4 up to 9 sts wide, then decrease). Sew patches turned in different directions across body ring and legs! Embroider facial features.
- Body Ring: In Peach yarn. Ch 20, join. Rnds 1-50: 20 sc. Stuff and sew Rnd 1 to Rnd 50 to form a 7.5″ ring.
- Head: Rnd 1: 6 sc in MR. Rnds 2-3: Increase to 24 sc. Rnd 4: (3 sc, inc) * 6 (30). Rnds 5-8: 30 sc. Stuff and sew head to front end of Body Ring.
- Snout & Floppy Ears: Snout: Ch 3 in Peach, 12 sc around, Rnd 3 in BLO (16 sc). Sew to front of head. Ears: Ch 6, sc, hdc, dc. Sew to top of head 1.75″ apart so they flop to the sides.
- Legs (Make 4): Black hooves (Rnds 1-3, BLO), switch to Peach (Rnds 4-10, 12 sc). Stuff and sew to body.
- Curly Tail: Ch 6 in Peach, work 3 sc in each chain across to create a natural spiral curl! Sew to back of ring. Embroider black eyes and nostrils.
- Inner Body Core: Paddy Green yarn. Rnds 1-4: Increase to 24 sc. Rnds 5-10: 24 sc. Fasten off (forms hollow sleeve that fits onto cone top!).
- Outer Body & Ruffle: Start at Head with Buff yarn (Rnds 1-12, 24 sc). Work BLO ruffle (Ch 3, sl st). Switch to Paddy Green yarn at Rnd 14. Increase to 36 sc (Rnd 21), then decrease back down to 24 sc (Rnd 24). Insert Inner Body core, stuff around it, and join both pieces together with 24 sc.
- Rooster Hay Base: Knot 48-50 Bright Yellow yarn strands (6″ long) into front loops of Rnd 24.
- Tail & Multicolored Feathers: Tail cone in Paddy Green (24 sc). Crochet 12 Feathers (Ch 17, 13 hdc) in Cherry Red, Bright Yellow, Pumpkin, Royal Green, Paddy Green. Sew feathers wrong-side up onto tail cone.
- Beak, Comb & Waddle: Pumpkin Beak, Cherry Red Comb (Ch 8 with 4-dc shell clusters), Cherry Red Waddle under beak. Paddy Green Wings (18 sc) sewn to sides. Pumpkin Feet (Ch 9 with 3 toes) attached to bottom!
- Styrofoam Cone Prep: Leave the protective clear plastic film on the Styrofoam cone. It prevents crumbling and allows yarn covers to slide smoothly.
- Ring Stacking Order: Place the largest ring (Cafe Latte Horse) on the base first, followed by the middle ring (Spotted Cow), the small ring (Pink Pig), and cap the top with the Rooster topper!
- Consistent Ring Stuffing: Stuff each body ring evenly as you join the ends so they maintain a smooth circular shape without lumpiness.
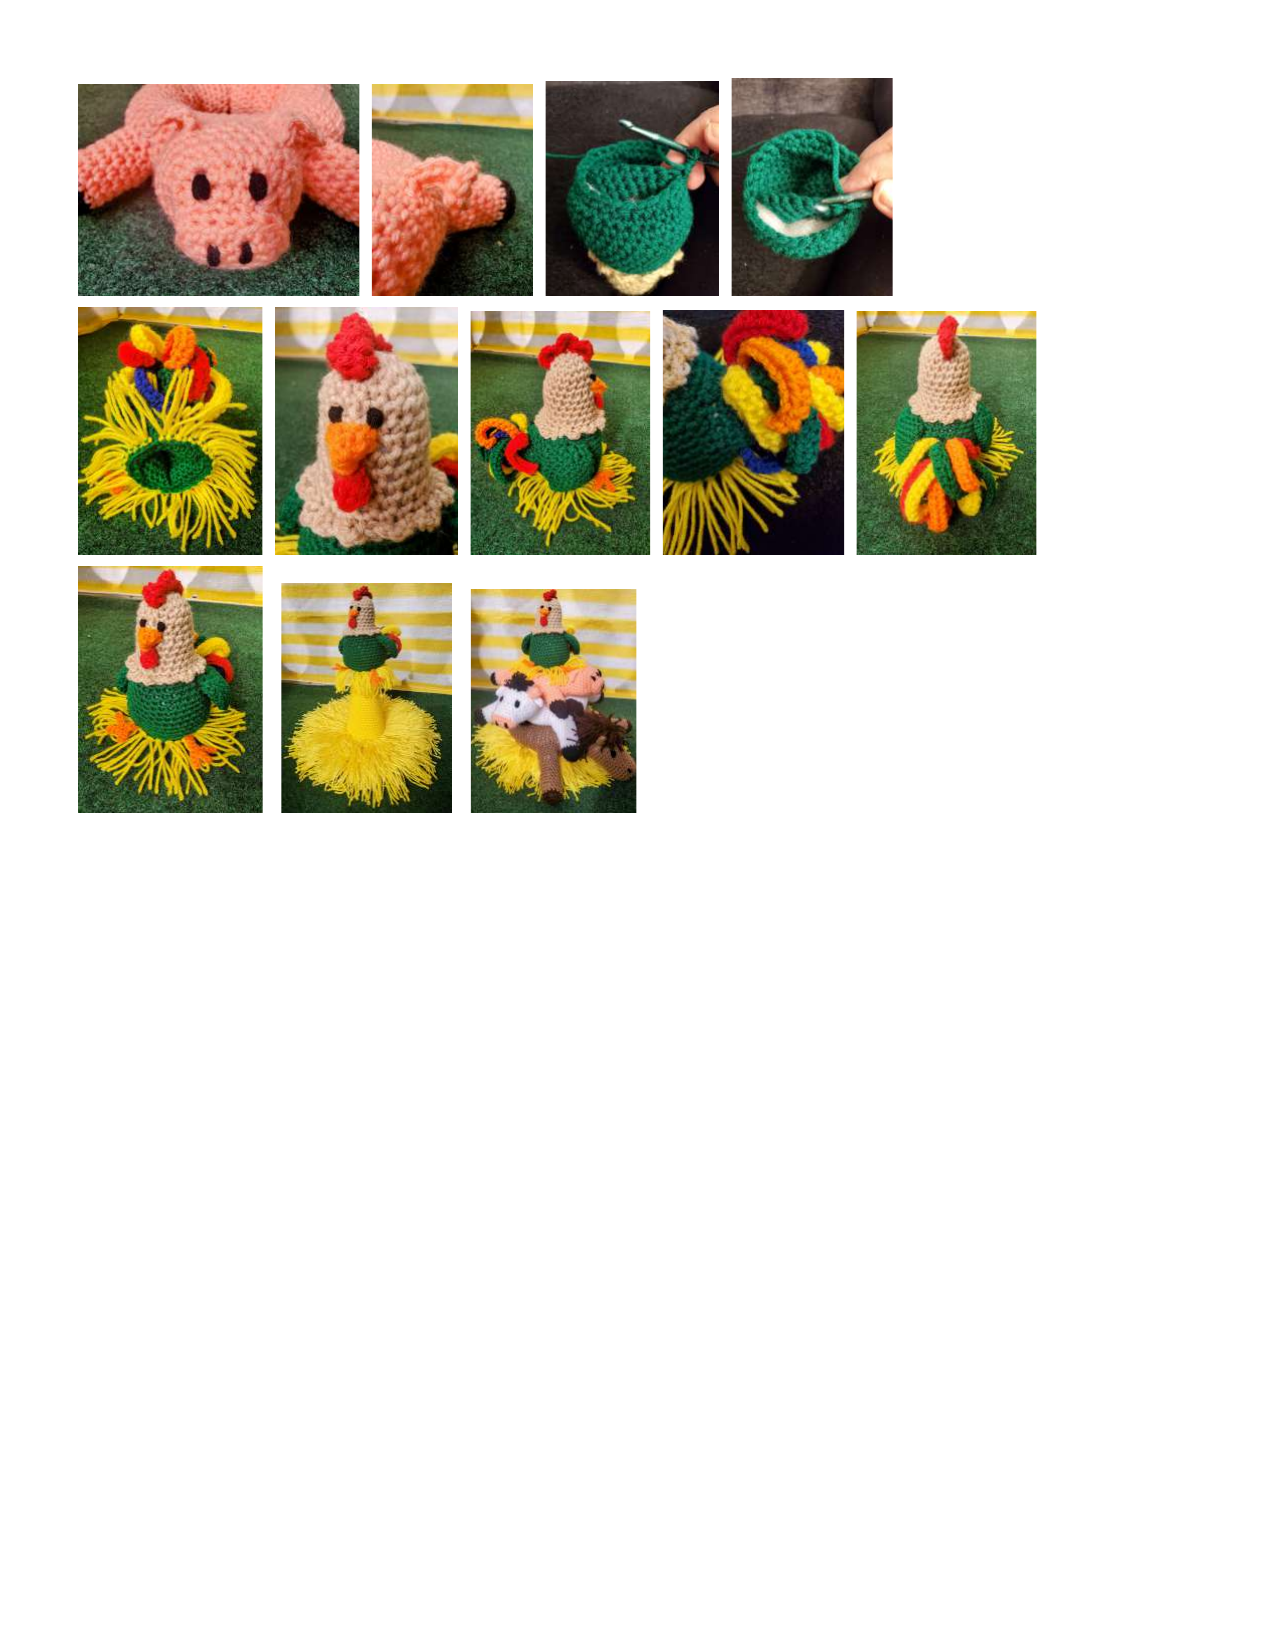
Congratulations! Your complete Crochet Farm Stacking Toy ring tower is finished. This delightful educational toy will bring endless joy, motor skills practice, and tactile fun to toddlers and kids alike!
Which animal ring was your favorite to make? Have you crocheted stacking towers before? Share your photos and leave your comments below! Happy crocheting!